
We kinda love that the ease of sending emails has given shipping packages and letters even more meaning. You probably know the feeling well: almost everyone loves receiving something in the mail!
 We kinda love that the ease of sending emails has given shipping packages and letters even more meaning. You probably know the feeling well: almost everyone loves receiving something in the mail!
That could explain why we love ordering from Amazon so much…
If you want to show friends and family you care with a personally addressed parcel, the time to learn is now. Our generation is well known for figuring everything out via the internet, so please use this guide to fully utilize the amazing, ironic power of FedEx , UPS , and the United States Postal Service !
The Gen-Z guide to shipping packages and envelopes
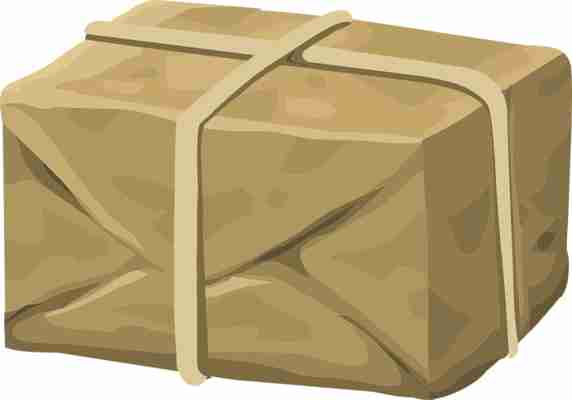
Step 1: Assemble Your Package

Yeah, that’s pretty obvious.
However, every once in a while, we’ve gotten ourselves stuck trying to figure out what to put in a care package. After adding Mini M&M’s and jelly beans and removing Reese’s Peanut Butter Cups because it was summer and those melt, we finally chose what to send and moved on.
If you’re stuck in a loop, constantly adding and removing items from a diversified packet, take a second to choose exactly what you want, and settle on that. There’s no need to wait seven days more because you decided to include a funny Resident Evil T-shirt from designbyhumans.com .
…not that we’ve had that experience.

8 best T-shirt sites for geeks like us
Finding the Right Box
It’s one of those steps that can be hard, not because there are too few options, but because there are too many.
Fortunately, you can start with this quick guide:
If your item doesn’t fit into a box easily or has certain requirements, like the need to be frozen, you should check your preferred shipping companies restrictions (the link is for USPS, our personal favorite). One company or another may have better options for highly specialized materials.
Addressing Mail
This is where we get hung up!
Addressing a shipment properly is one of the most important parts. You need to make sure the writing is legible and there are no spelling errors: otherwise, your package will not reach its destination, or even be returned to the sender. We’ll explain in more detail.
When choosing which side to place the address on: use the “back” of the letter, the side without a flap. For boxes, we recommend using one of the faces with the most surface area, you can use the flap side if you wish.
Methods of placing the address: with letters, it’s often easiest to write on the envelope directly. However, boxes may have different prints on them that would confuse your writing. In that case, you’d be well advised to print the address and tape it over. If you want to choose the easiest mode for both letters and boxes, purchase printable stickers and create the address with those instead!
Finally, let’s talk about addresses:
The Return Address should always be placed at the top left of your envelope or box. It’s easy to mix up a sending address or forget a stamp, so be careful: if something goes wrong, they’ll still get the shipment back to you (we had it happen with tax returns before, this can be a lifesaver).
Line by line, the order goes:
The Recipient Address hopefully needs little explanation. Place it in the bottom middle of the package. For boxes, be careful not to take up too much space: there must be room for QR tracking stickers.
The order works exactly the same:
Price, Stamps
For shipping packages, we take our boxes down to a USPS store, where they will check the shipping location, verify the weight, and have you pay right there, simple as that. You generally don’t want to load up parcels with a ton of stamps because, frankly, it’s time-consuming.
If your box is packaged and addressed, we recommend taking it to a shipping location and paying the fee there. Sh’boom.
However, if you’re sending an envelope and want to buy stamps yourself for the easy drive-through letter drop-off, here’s a little secret: there’s no set number of stamps required. Rather, each letter has a price, and every stamp has a money value: you need to cover the price with enough stamps to meet the shipping fee. So…
Will your letter have a 55 cent fee? Use a 55 cent stamp, or perhaps a 25 and a 30-cent stamp, if such things exist. However you measure up to the fee is your choice! Just note that for almost all domestic letters, a 55 cent Forever stamp will work. Remember that while postage is bound to go up, your Forever stamps will work forever. It might be worth splurging on more postage than you need now, so you won’t be hit with price increases in the future.
If you’re not sure how expensive the package will be, check your favorite shipper’s price page . The USPS version can get a little dicey and hard to understand (don’t use their package pricing page, it doesn’t tell you the fee for normal envelopes), so we screen captured the most important page:
If you have a printer, you can print shipping labels with the postage included through Stamps.com.
Shipping the Letters
Finally, you have everything set!
Yeah, this will take at least a quick trip down to your curb. But after that, your shipment will soon be on its way to its final destination!
Conclusion
We love both getting and sending packages. Oddly, we’d even go so far as to say randomly sending stuff in the mail is more fun and addicting than giving or receiving presents during a birthdays and Christmas. (GASP, heresy!) Could it be the unexpected nature of arrivals? The knowledge that somebody put extra thought into sending it? Who knows!
Whatever the case, we hope you use this knowledge wisely and responsibly. The ability to ship packages is a powerful tool for building relationships through classy gifting.
Thanks for reading, see you next time!


