
If you have your own personal desktop computer, you can get the help of desktop computer configuration tool. It is a software that provides you with the best possible way to customize the look and feel of your computer display. As we all know that personal computer setup is a process that is not only fun but also time consuming. In fact, this process is one of the most important steps you should perform before your computer starts working properly. If you have your own personal desktop computer, you can get the help of desktop computer configuration tool. It is a software that provides you with the best possible way to customize the look and feel of your computer display. As we all know that personal computer setup is a process that is not only fun but also time consuming. In fact, this process is one of the most important steps you should perform before your computer starts working properly.
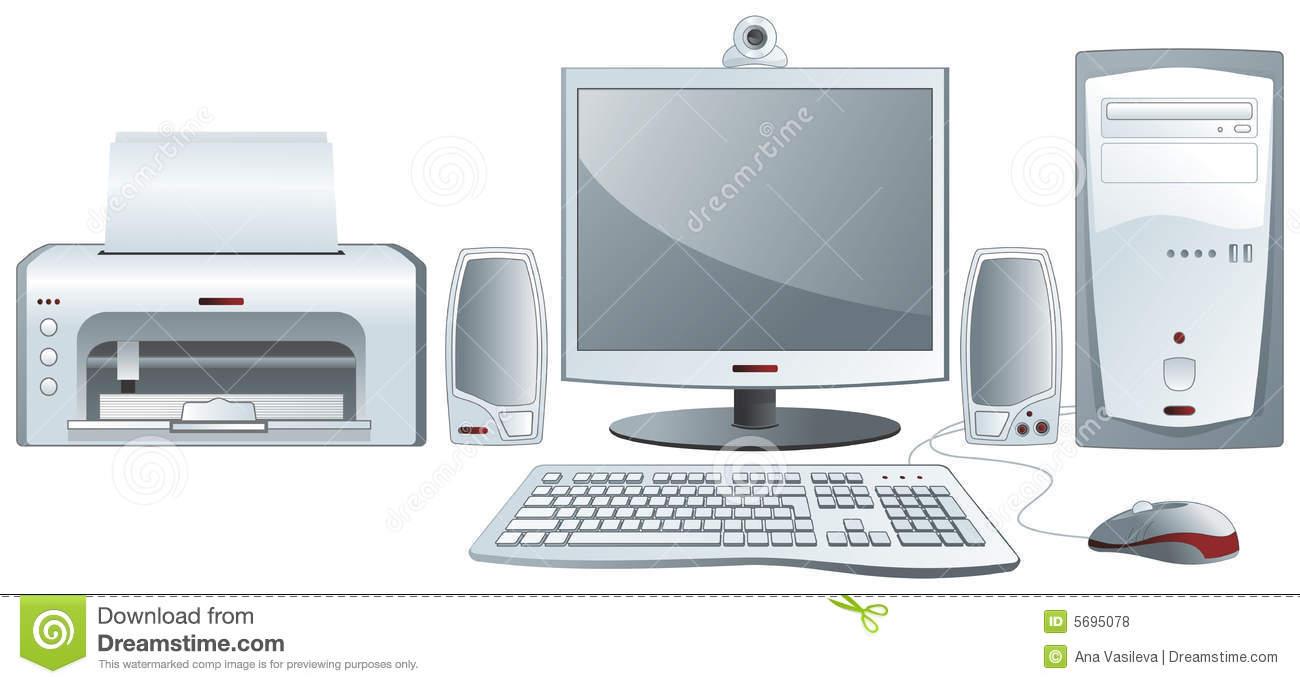
However, setting up your PC to run faster, have more features and functions and to look more beautiful is not an easy task at all. So, if you are facing some trouble in performing the task, don't worry; we will provide you the free desktop png images to tweak your computer's look. You can download the free desktop png images from the internet.
First of all, you need to download free desktop format image. The name of the image file may vary based on the operating system and hardware of your PC. There are many websites that offer free download of different formats. You can choose among the options and upload the image file to your PC. However, make sure you are downloading the correct format for your PC.
You can either right click or control panel interface to open the file. Usually, the folder of the desktop will be displayed on the screen. Double-click or click on the "Desktop" icon. A pop-up window will appear, which displays the image of your desktop computer. If you want to change the existing settings of your desktop computer, you need to click on the "gear" icon that appears on the screen.
Now, click on "OK". In the next step, you will see your computer configuration tool window. Click on "disk management", and you will get detailed information of the partitions in your hard drive. You can select the largest partition that is suitable for the total memory of your computer. In this case, the selected partitions will be listed as available hard drive space.
Then, click on "New Partition". In the new window, you will find various options, such as Drive letter, Size, Primary partition, and Primary partition size. You can select the one that is best suited for your desktop computer configuration.
You need to give some time to the disk manager to create the new disk. When finished, you can click on "finish." And then, you can shutdown your computer to finish the process. Make sure, though, that you have not restarted your computer yet.
To successfully install and configure your desktop computer with a Windows XP, Vista or Windows 7, you need to follow the procedures mentioned in this article. If you are having troubles, you can consult the manual of your operating system. This will help you troubleshoot your computer and correct the errors. The task is often complicated if you are unfamiliar with it. So, learn by reading a tutorial and experience the convenience of your new desktop computer configuration.
Let us start from the "Mac OS X Leopard", Disk Manager in Leopard. If your Mac OS X Leopard has been installed to the hard drive of your computer, then open the Personal Information folder. You should see an icon near your hard drive name of disk images called "Disk Image". If you cannot see it, you should open the Finder window. Double-click on the disk image you want to mount.
Double-click on the new partition you want to create. In the new window, click on "New Partition". In the newly created partition wizard, enter the name of the disk you want to use. Click on "finish" to stop the process.
Now we are going to move on to the more complicated part. The "Mac OS X Leopard" setup disk will not only teach you how to create the partitions, but will also instruct you how to set up your computer for the installation. Please be sure that your disk is not already damaged before you attempt to do anything. Click on "OS X Leopard" in the left side panel of the PC. Click on "My Computer" and proceed to the setup disk.
Once you have completed this step, you will need to click on the "booted" arrow so that you can see whether your Mac OS X Leopard is currently functional or not. If you have followed everything correctly, your computer should be working fine. If your Mac OS X Leopard is not functional, proceed to step 4. If you successfully set up your disk, you are now ready to install!


